Laser scanners have helped to revolutionise surveying in the construction industry, allowing the creation of completely accurate 360-degree point clouds of any given area. But how do they actually work and what does the future hold in store for the technology? This CPD, in partnership with Topcon positioning GB, explains.
3D laser scanning is the process of analysing a real-world object or environment to collect data on its shape and possibly its appearance, using a laser to measure and capture the surroundings at high speed.
A laser is fired out and for every surface that it hits a point in space is recorded. At the same time, the scanner will record the reflectivity of the surface to give an intensity value. A built-in camera also provides the ability to colour each of the points that have been recorded. As these points are captured at high speeds, a very dense point cloud of data can then be created quickly and efficiently.
- To test yourself on the CPD questions click here and to see past CPD articles visit www.constructionmanagermagazine.com/cpd-articles.
Laser scanners work via line of sight, meaning that, on a typical project, multiple scans need to be taken from different vantage points to ensure a complete data set. Topcon’s latest scanner, the GTL-1000, makes this easy as it has all the features of a robotic total station (which can be operated remotely) combined with a fully functional laser scanner.
This equips the user with the ability to use and establish a survey control network (geographic positions, specified relative to a fixed reference) as well as register point cloud data.
Faster and more accurate verification
As the device operates as a fully functional robotic total station and a high-speed, high-quality laser scanner, with just three clicks and in less than two minutes it can produce a complete, 360-degree, locally registered point cloud of an area.
As well as speeding up data capture and processing time, the time savings are very apparent in the long term as well. Utilising the GTL-1000 along with Verity software, it is easy to identify potential issues long before errors occur on site – finding out something may have been installed incorrectly early in the construction process eliminates the costly knock-on effects this may bring, saving time, money and reputation.
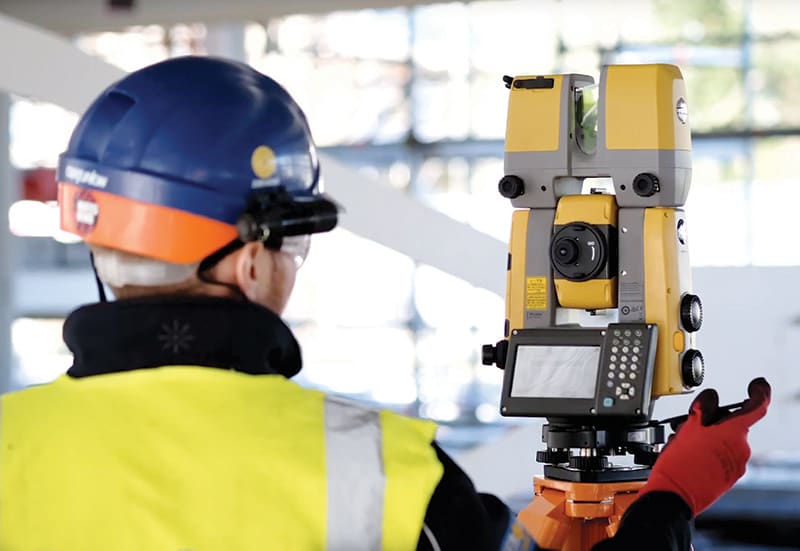
The user is able to establish a survey control network and register point cloud data
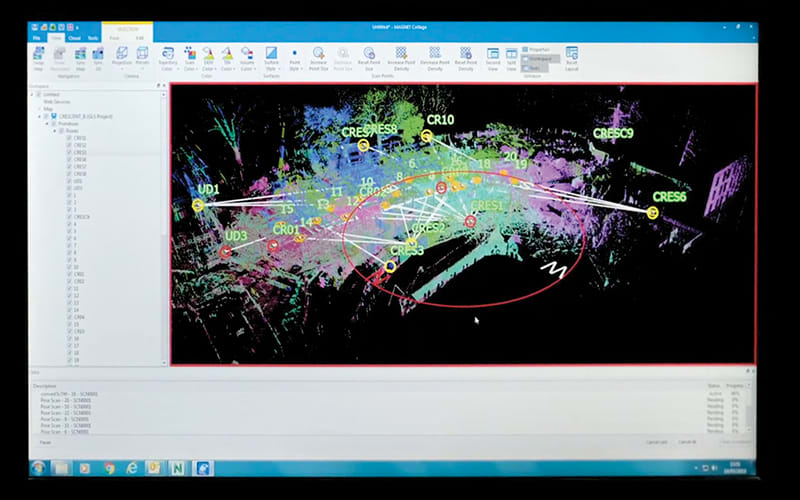
In less than two minutes a point cloud of data can be produced
This means an engineer can be out on site in the morning scanning the latest installed elements, analyse the scan data and then be back out on site before lunch with a list of deviations that may have been identified. Without technology like the GTL-1000, a process like this would be measured in days rather than hours.
Reduced costs and resources
One of the biggest savings when it comes to the latest generation of laser scanners is time. Traditionally, to orientate scan data, engineers would need to use robotic total stations to set up and orientate scan targets. These targets would then need to be scanned with a laser scanner. With a combined unit, engineers won’t need to set up in the same location twice – it can all be done in one swift movement, potentially halving site time.
Having one device is also more cost-effective than having two separate ones – in fact, having two pieces of equipment can cost up to 50% more. There are different technology combinations available on the market, but the cost savings are still significant when a combined device is used.
Adopting the innovative technology
Topcon is providing GTL-1000 user training for any adopters of the innovation, and for engineers already familiar with traditional onsite setting-out, this training is minimal.
With only three clicks to initiate the 3D laser scan, it does not take long for site engineers to be fully acquainted with the whole process. Even if the team doesn’t have previous experience with total stations, it’s easy to learn how to use the equipment within a short space of time.
Working with retro targets
The Topcon GTL-1000 works with any target in the same way a total station does. It works with retros, prisms, temporary and many other types of survey control. As well as having the ability to use retro targets already established on site, engineers will also be able to establish new ones.
Despite the GTL-1000 being packed with powerful technology, this device is rugged and compact. It weighs only 7kg and fits into one case, making it easy to carry around site, transport, set up and operate. The GTL-1000 also uses ultrasonic motors, saving space and weight.
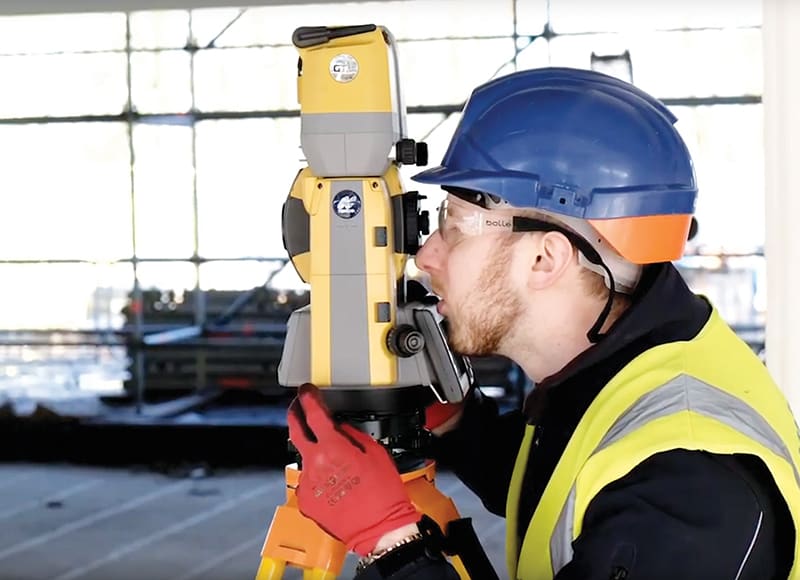
It takes three clicks to initiate the 3D scan
Software to bring verification to life
Combined with MAGNET Collage and ClearEdge3D Verity software, the GTL-1000 provides a clear visual indication of construction quality to minimise the impact of mistakes before they become expensive problems.
Within the software, the device’s scan data can be quickly compared to design models, highlighting any deviations captured and allowing immediate rectification. The software shows variations from design visually and numerically, across horizontal and vertical axis as well as twist and deformation variations.
The GTL-1000 was designed to fit within a streamlined workflow solution to deliver usable scan data faster than any previous process. When used in conjunction with Topcon’s MAGNET Collage, the data can be exported in any number of formats including, but not limited to, RCS/RCP, E57, LAS and PTS.
The scan data taken out of MAGNET can be used with any software that can support point cloud data. The file size of the data is also relatively compact, making the transfer of data and information easily manageable.
The speed of this data transfer is also significantly increased – construction validation using the GTL-1000 workflow is proving to be at least four times faster than traditional methods.

